A quick review of the completion of the front deck.
Adding deck ramp
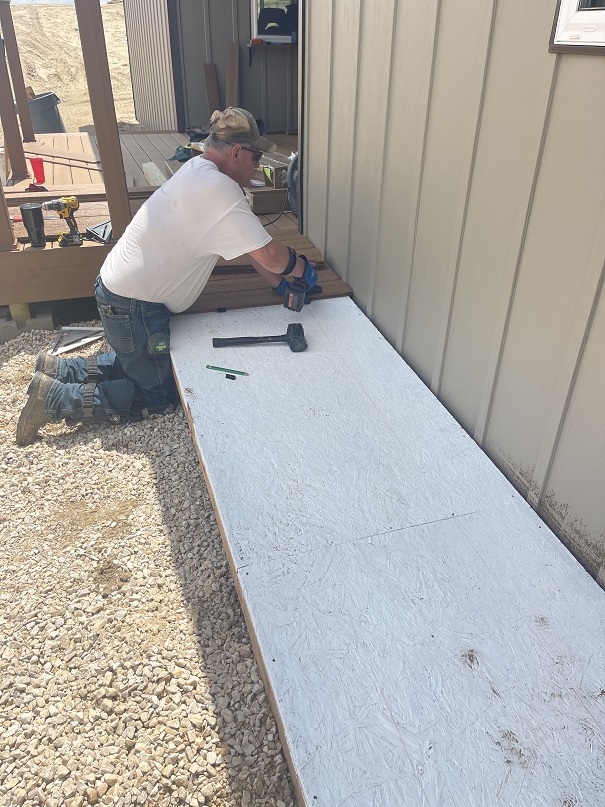
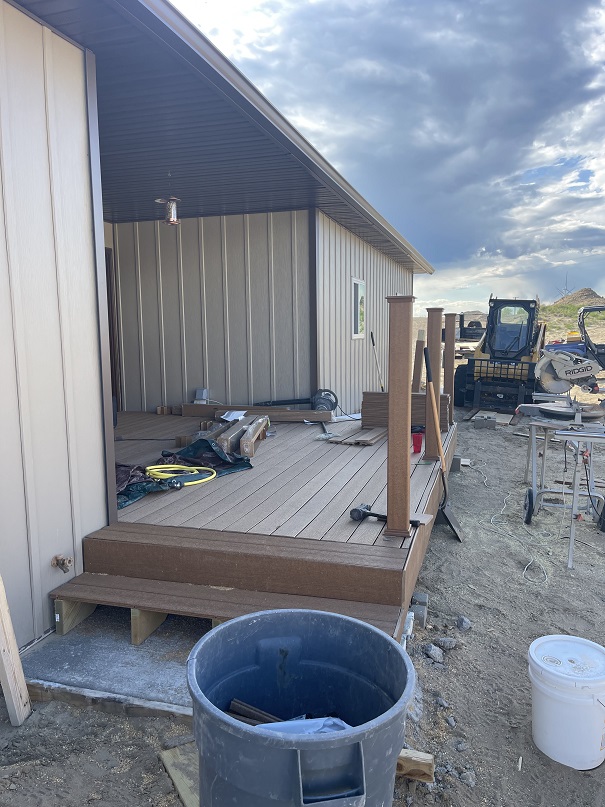
First is the completion of the ramp along side the west side of the front of the house. We moved the ramp from along side of the trailer down to the house. The ramp turned out to be much lower slope than when servicing the trailer.
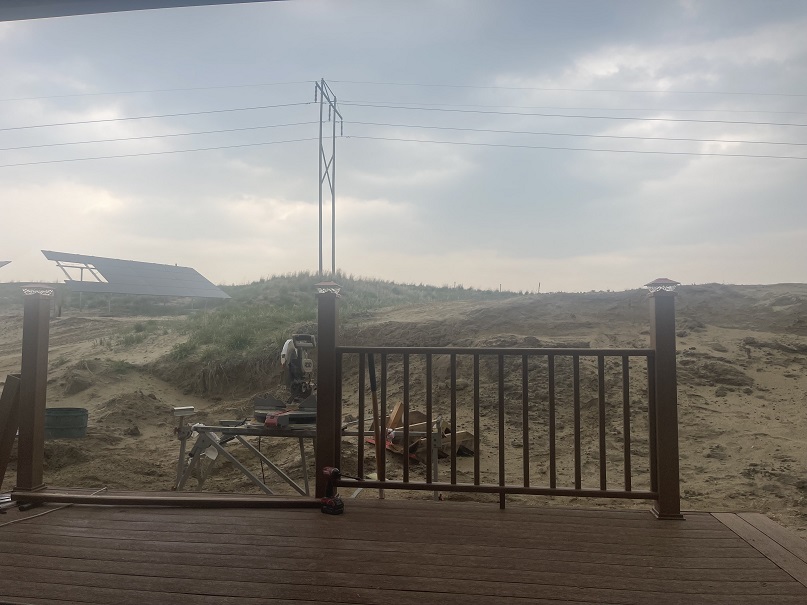
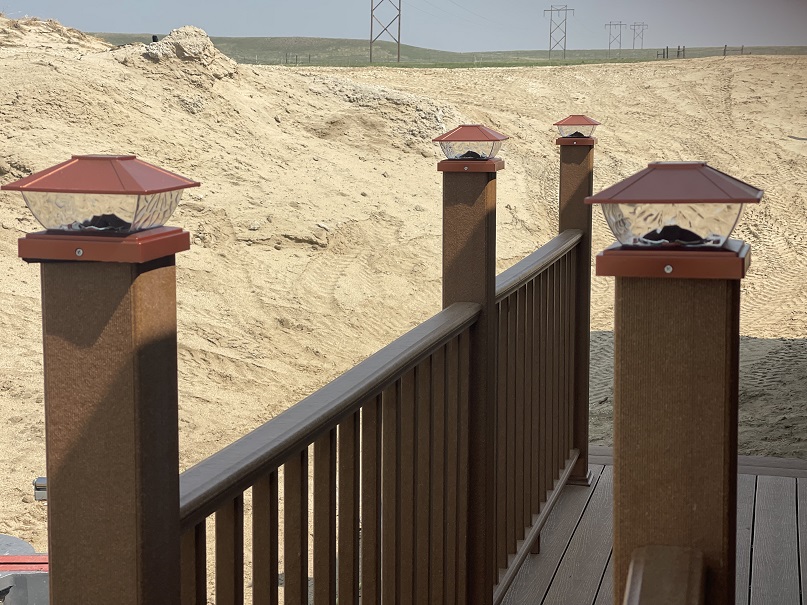
Front Deck Railing Section
This is the first of two sections of the front desk railing. It was rediculously expensive pre-fab sections but does look very nice when completed.
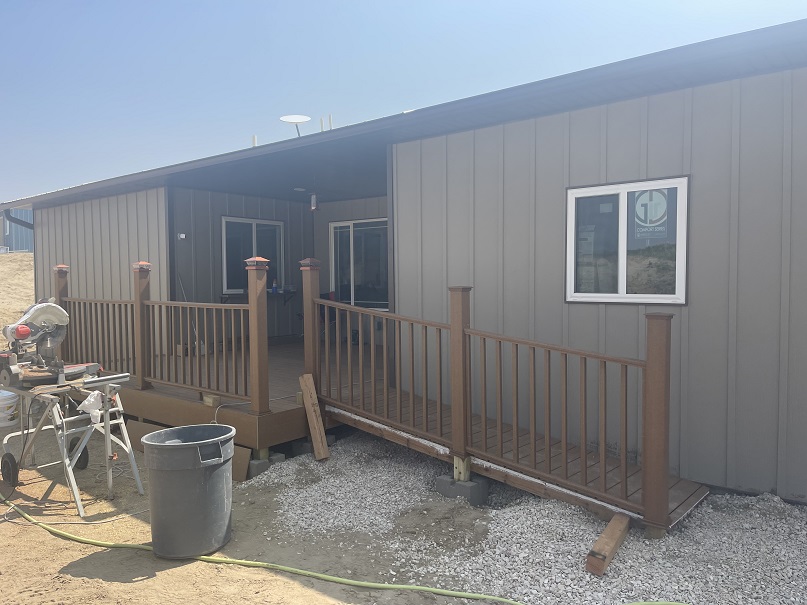
Front deck Ramp
This is the finished front ramp and deck. The ramp railings are slightly different and designed for stairs and slopes. There is a slight gap (about 1 ft) between the sections that I’m still noodling on.
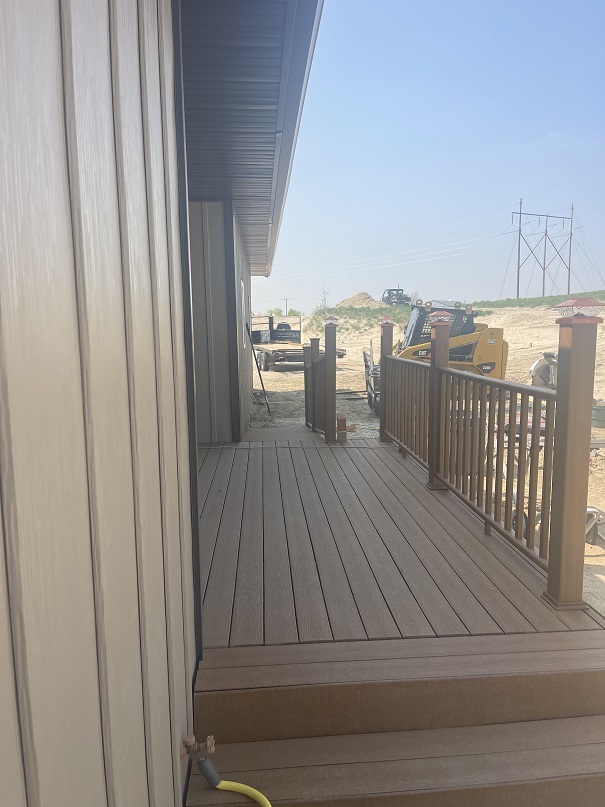
Looking Westward up the stairs and down the ramp
This is looking Westward, up the stairs and down the ramp.
Close up of the solar lights on the deck posts. They are only
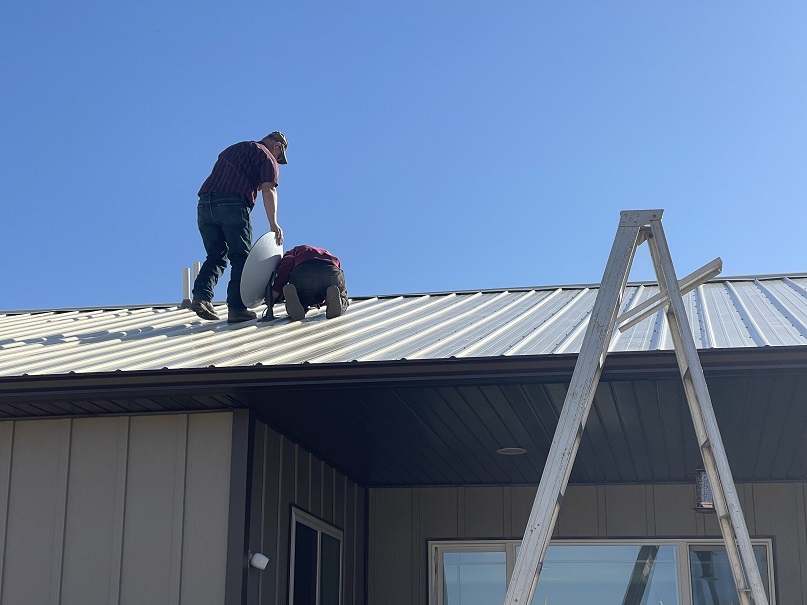
When I was last here it was early April in the middle of the snowstorms. It is now mid-May and the weather couldn’t be different. It is now upper seventies – low eighties and spring has definitely sprung. Last month, after the Snowpacolypse, we moved the Starlink antenna up to the roof.
Putting Starlink on roof.
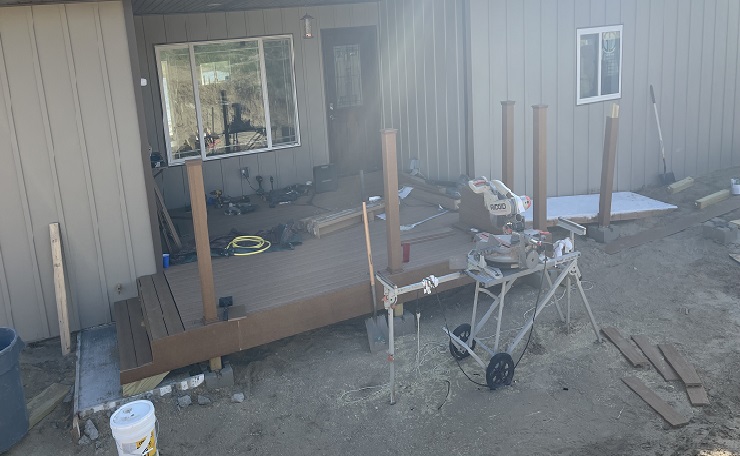
After we moved the antenna, we started working on the Front Deck. I had long planned on an expansive front deck, on the north side of the house to be shaded during hot weather. I had planned to move the ramp from the trailer to run along the font of the house for easy access.
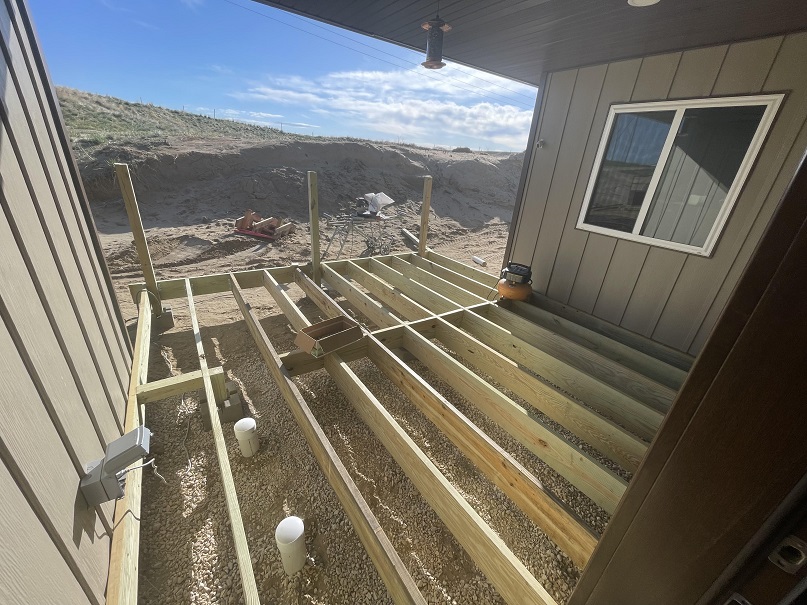
Front Deck Underpinning
Above is the underpinning of the deck. The white PVC pipes are clean outs for the plumbing drains. The next picture shows the cement pad for the NE stairs
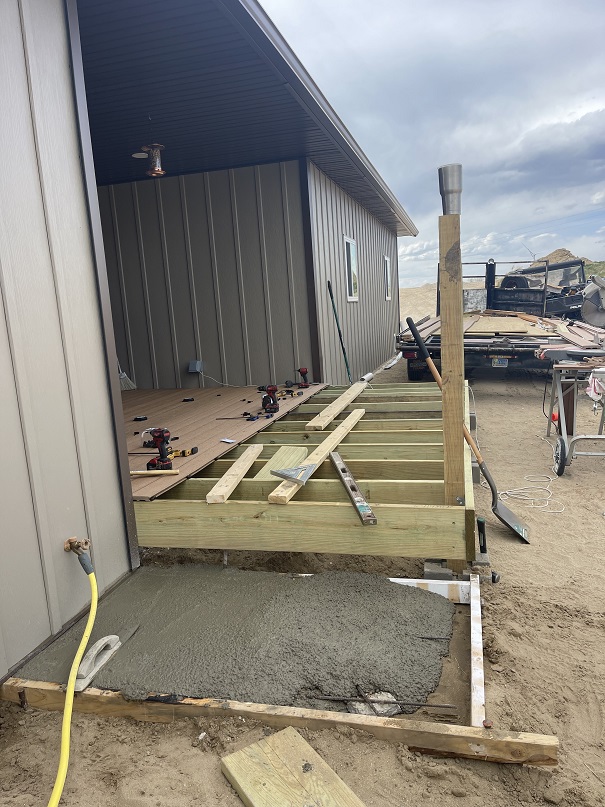
Cement pad for the stairsNote colors are misleading
The above shows the stairs on the NE side of the porch. Note that the steps and the deck are the same colors, just a difference in reflectivity.
Front Deck showing ramp
The white ramp is painted to protect the strand board. It will be covered with planking running crosswise.
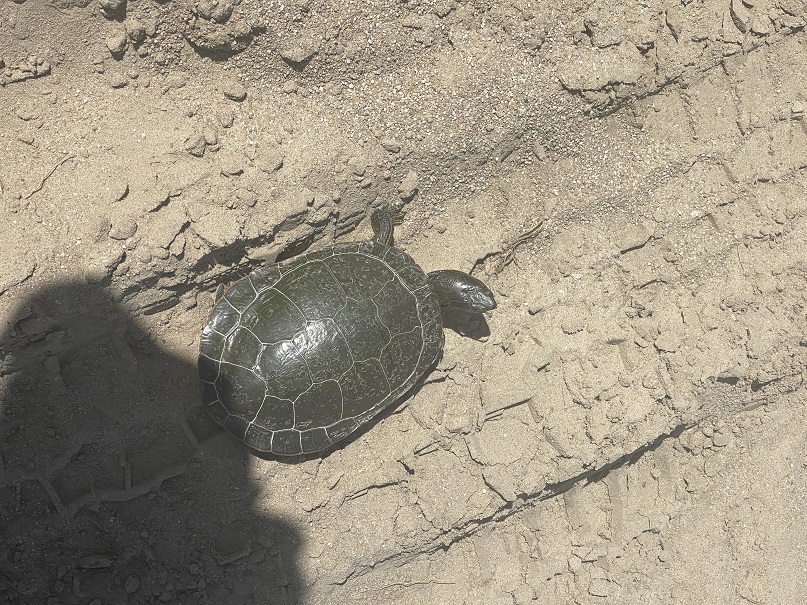
Last week I saw a turtle climbing up the slope from the pond between my house and Jills. According to AT it wasn’t a snapping turtle (shape of jaw is different).
Turtle
The turtle was very skittish and so rather than perching it on a fencepost, I herded it back towards the pond.
I’ve got another update on Jill’s house. It’s a couple of weeks later. Progress has been slower than Jill & AT would have liked, but most of the difficulties have been worked out progress is back on track.
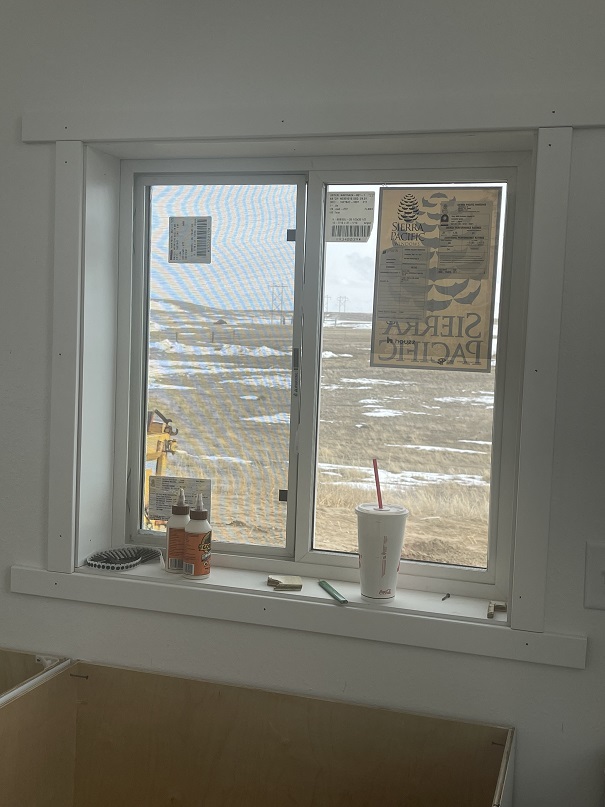
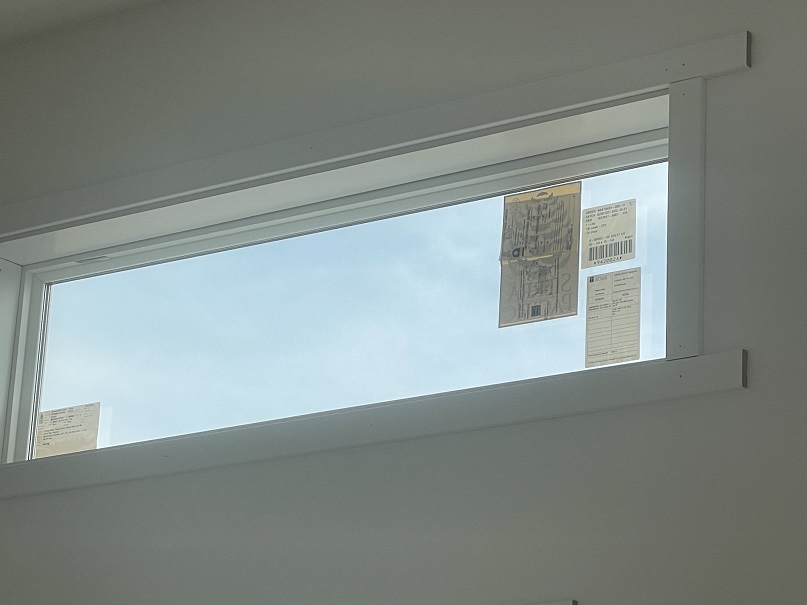
The cabinets have been all set, in place and fixed to the walls, and the window trim molding is in place.
Country Kitchen Window MoldingsUpper Window Moldings
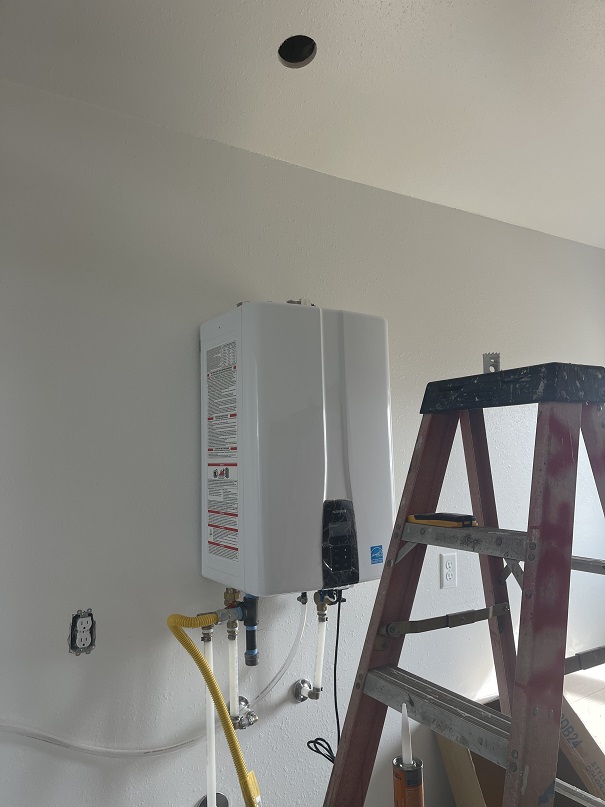
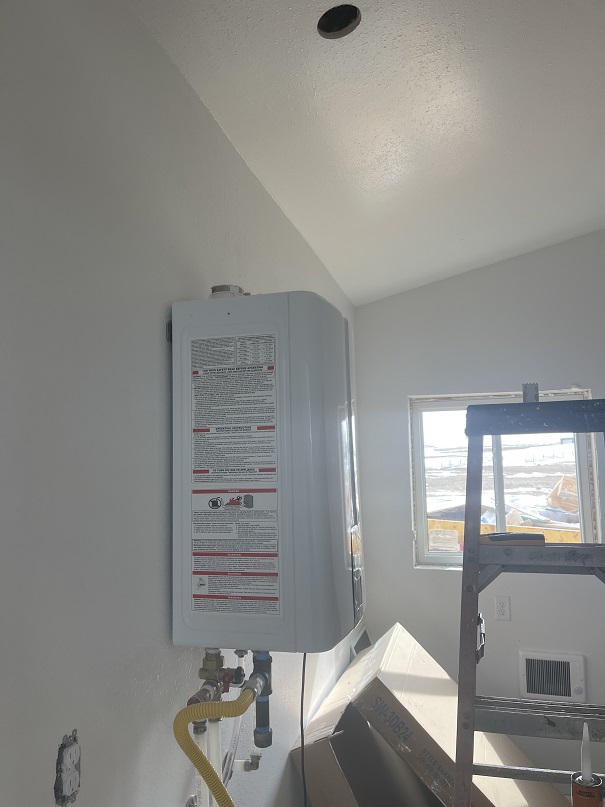
The gas powered, flow through Water Heater has been installed. It is the same one that I have installed and seems to work just fine.
Water Heater
The yellow piping is the propane input the clear plastic piping is the hot & cold water lines.
Water Heater
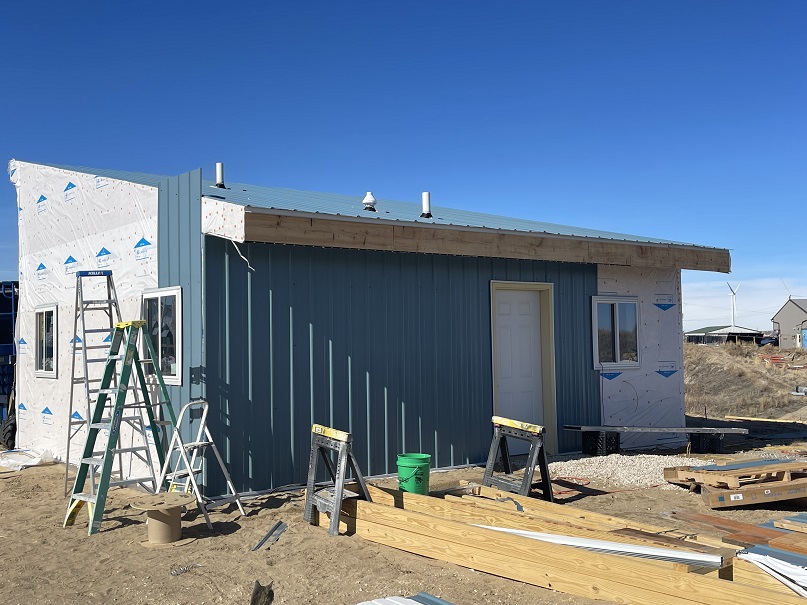
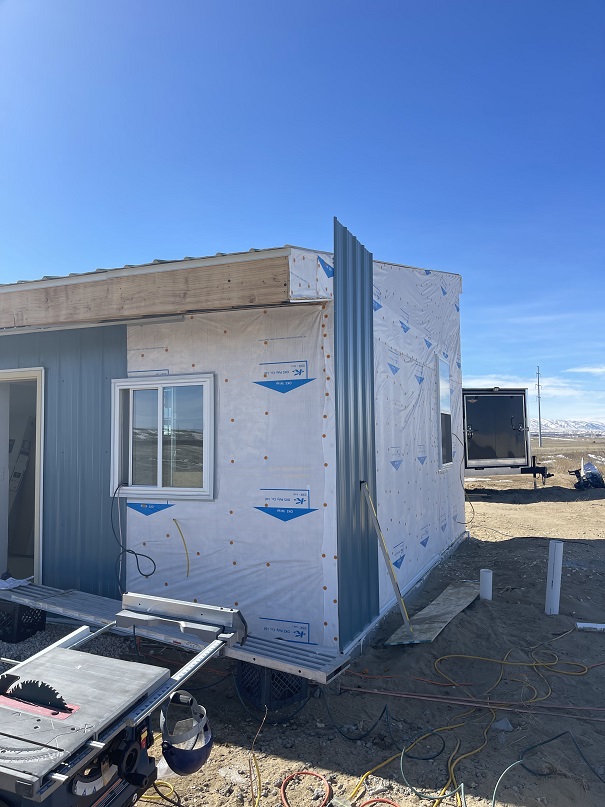
We’re on the second day of calm, almost not wind and the major focus of today is continuing work on the siding.
Siding
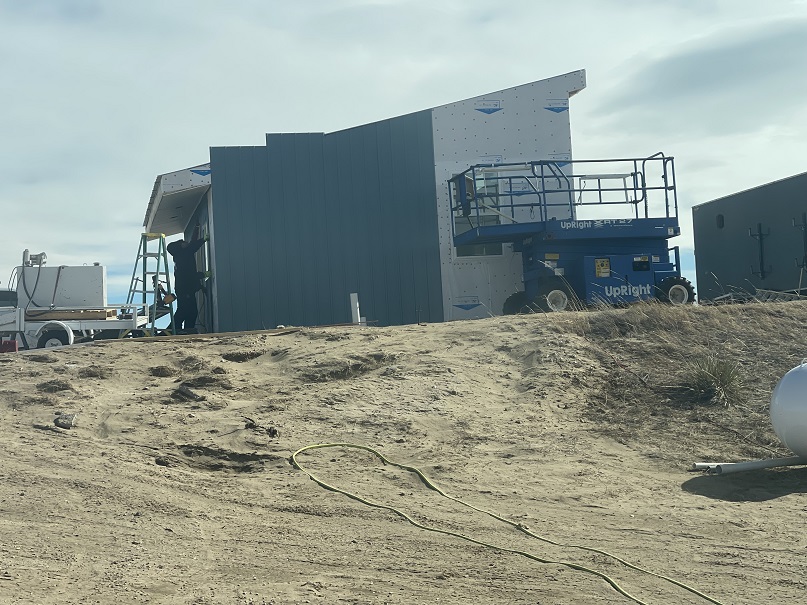
The goal for today is to try to get as much of the siding as possible up before the winds start up this afternoon.
More siding
The siding is precut with 2 pieces (one for each side) stepping up in 6 inch increments. Once the sides are on working on the South wall (with all the windows, and doors, and the support beams) will begin.
And More Siding
This is about 3:00 pm, and the winds are picking up. I think we will be shutting down for the day shortly.
After visiting with my other two sisters last September, my next younger sister Jill decided to build a tiny house up on the ridge behind my house. She is using AT as the contractor and her grandson Johnny has moved up to Wyoming to apprentice to AT.
Last month they broke ground and started construction. It’s a tiny house/studio on a 20×24″ slab. She spends part of the year with family in Texas and part in CA with other family, so this is basically a refuge of her own.
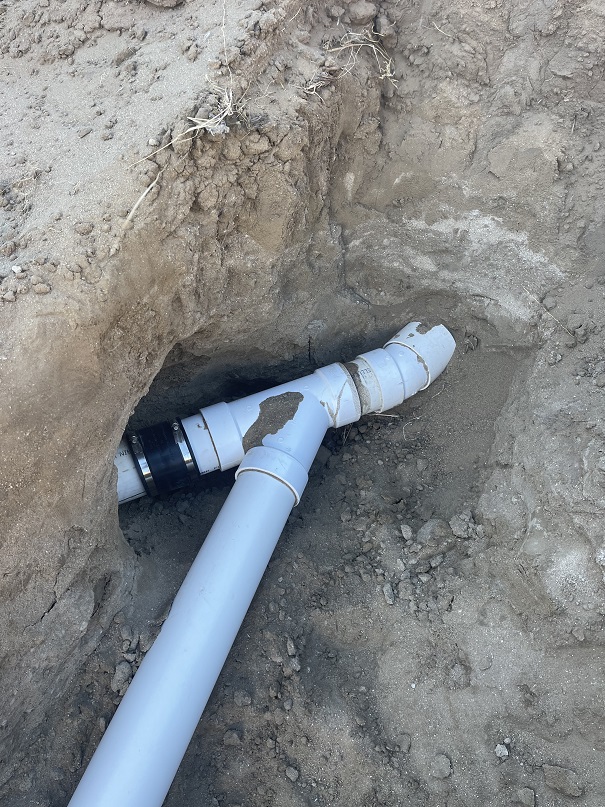
We ran water and power out from my basement up to Jill’s house and ran her main drains down to my septic system. We deliberately sized my septic tank and drain field for 4 bedrooms, allowing for my 3 bedrooms and Jill’s bedroom.
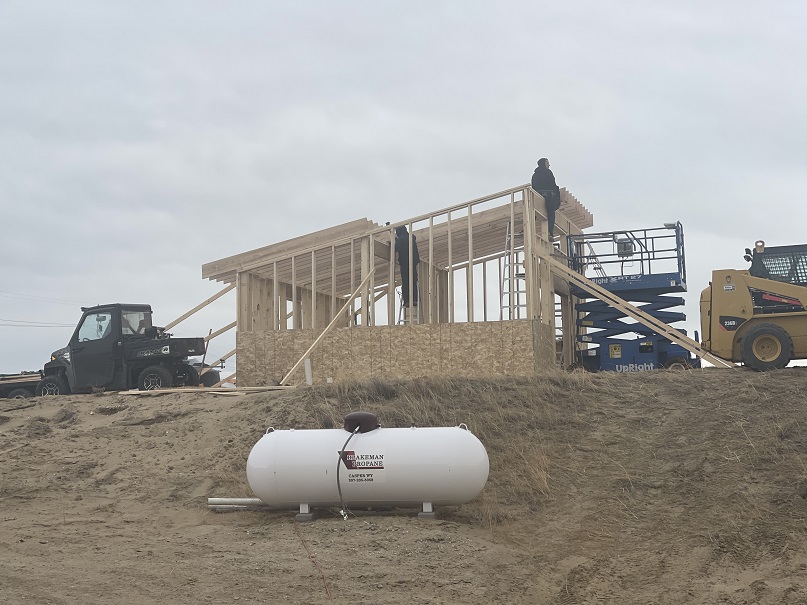
Roof Rafters
The back wall was built in AT’s garage and the front one was built in my garage while I was down going on the cruise with Jan & Mike; so, the walls went up quick. Here they are almost done with the rafters.
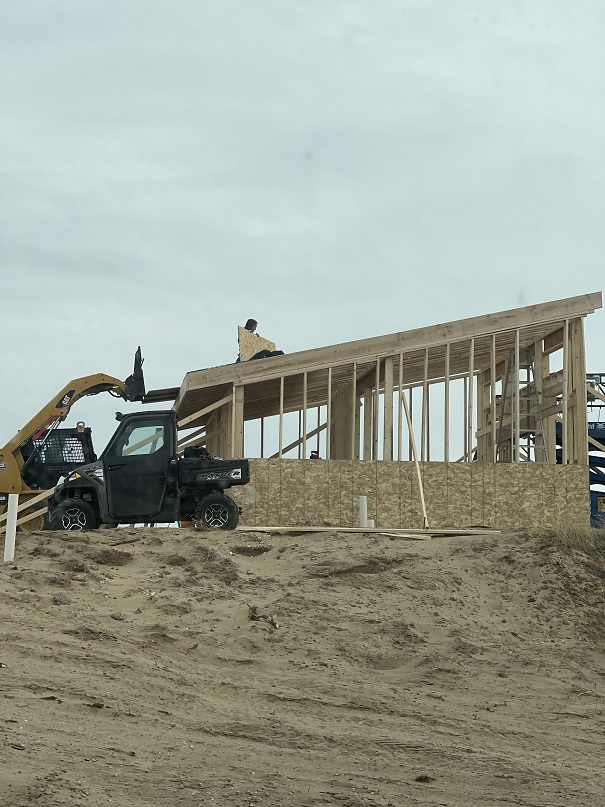
Finishing the Roof
Here is what was completed, on the last day of December 2022. The roof is roughed in and covered with chip board. It really does look like a “horse shed, with appliances” as AT phrased it.
It’s mid-December and time for an update on various projects.
Jill’s tiny house continues to progress.
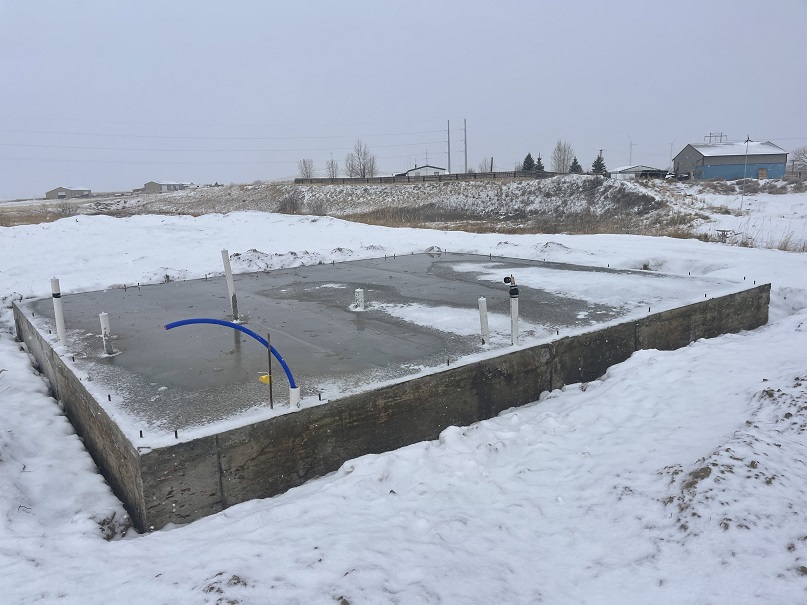
Jill’s slab looking SW
The slab has been poured and cured. The blue line is the water line coming in from my basement. The white fittings are various drain and vent lines.
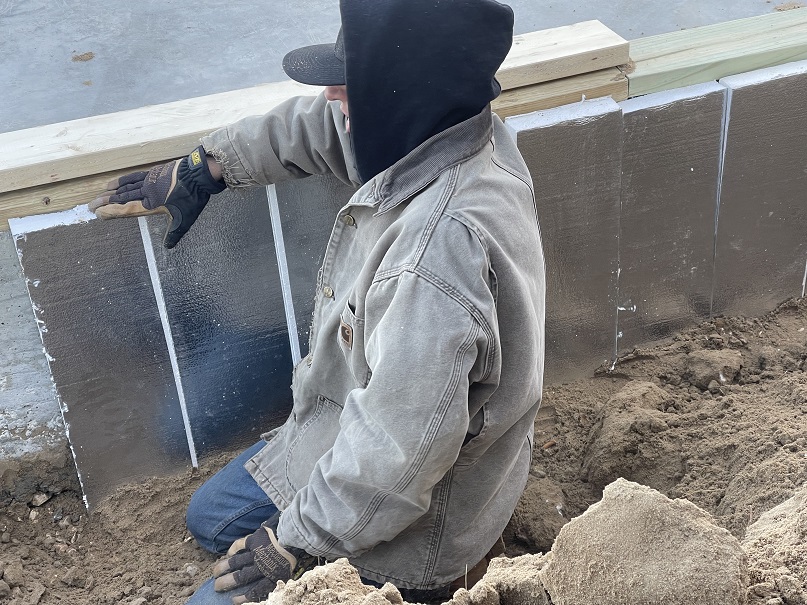
Insulating Jill’s Slab
Johnny is insulating his grandmother’s slab; 24 inches down. Now that the slab is insulated and backfilled AT will be erecting the walls and wrapping them with house-wrap to weatherproof the exterior.
Jill’s sewer tie-in to septic system
Also, not pictured, is the power run up from my house to Jill’s.
We expect the walls to go up this week. Jill and I are in Southern California waiting to go on a 3-day cruise to Ensenada with Jan & Mike and Terry & Voula.
I left on Monday, a day before I planned, to outrun a large storm that descended on Monday evening dropping 6-8 inches of snow. It’s planned to continue until Wednesday dropping close to a foot of snow.
After the cruise, I will drive up to Steve & Irene’s house to see them and spend the night. Tuesday morning, I will pick up Jill and we will drive back up to Casper with the first load of her belongings.
We are making progress, making progress however slowly it seems. On the closing of my loan on the house I have reviewed the updated Interest Rate Disclosure document and should be ready for Closing next week. It turns out that most of the three-week delay was caused by Appraisal Companies unable to locate comparison properties that weren’t connected to the power grid.
The replacement inverter has been received and installed, restoring us to full power.
Power System
After last week’s cold weather, progress is proceeding on Jill’s house.
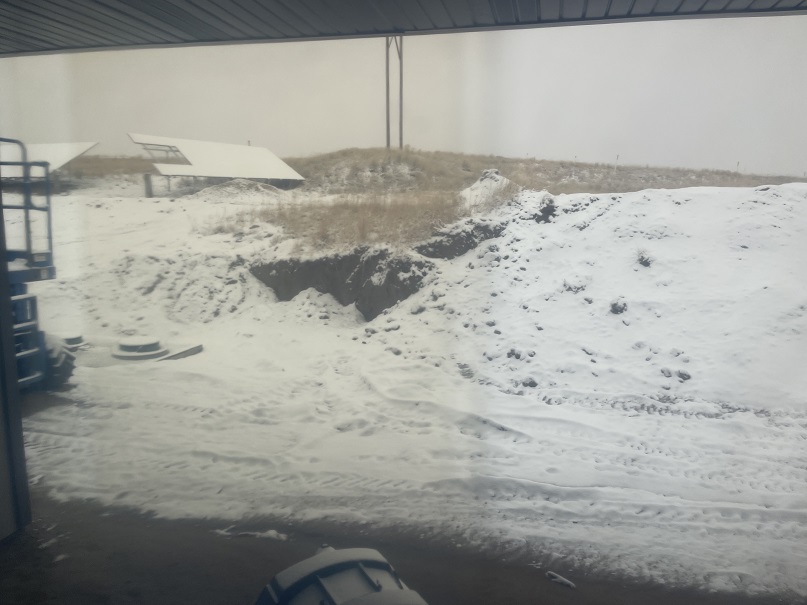
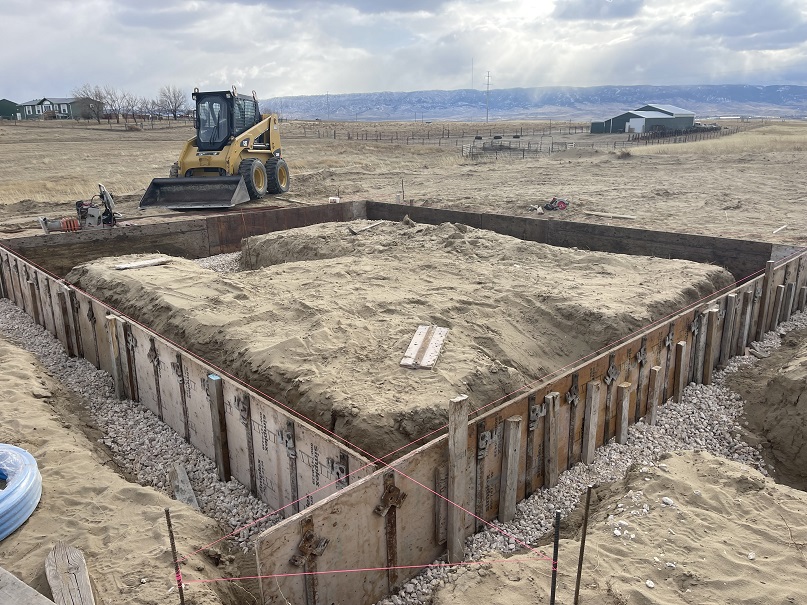
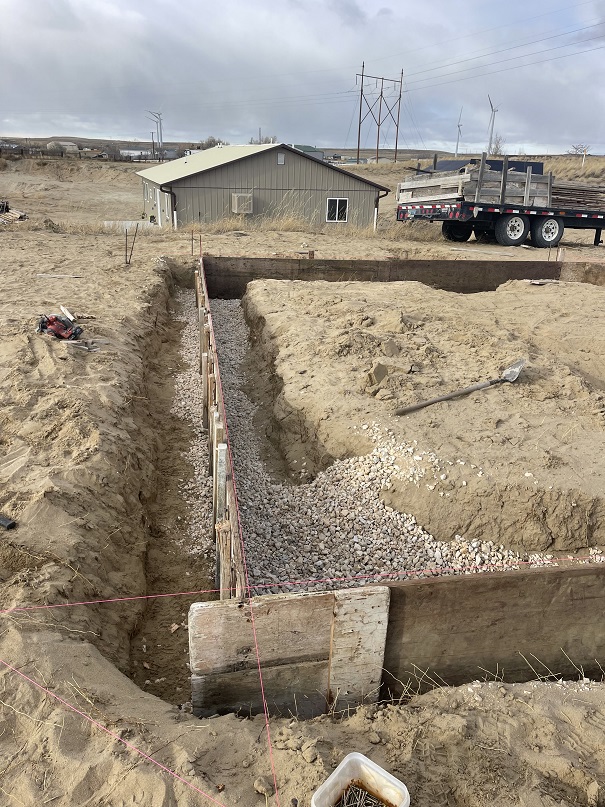
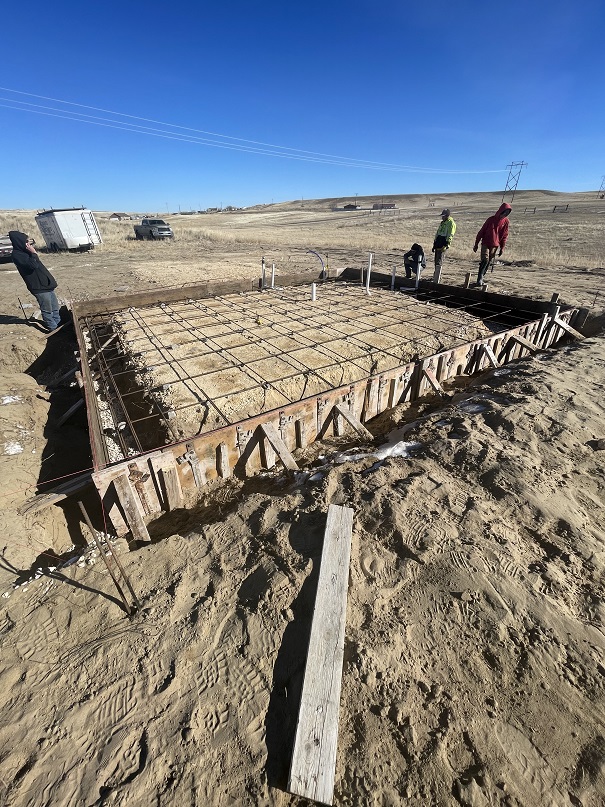
Early Nov Snow (note snow on solar panels)Jill’s Foundation last WeekMore foundationReady for Pouring this Morning
This shows the rebar and piping installed and ready for cement pouring.
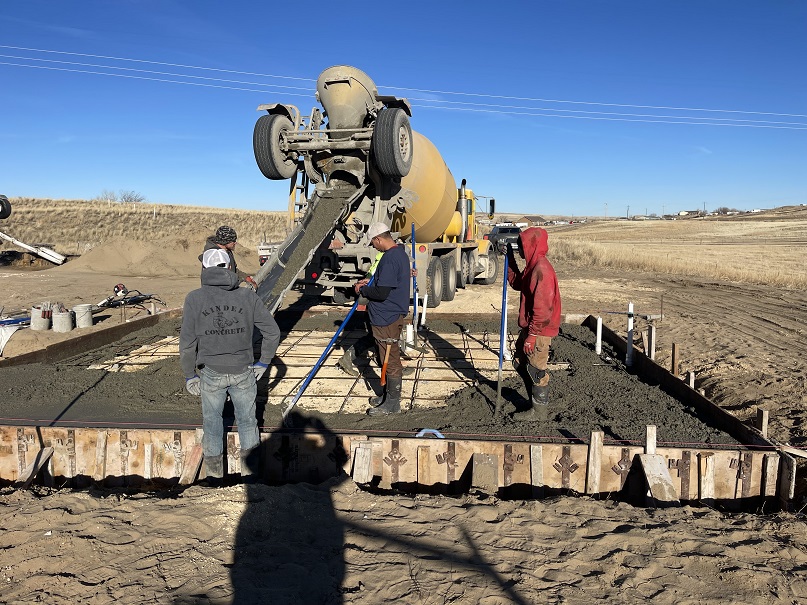
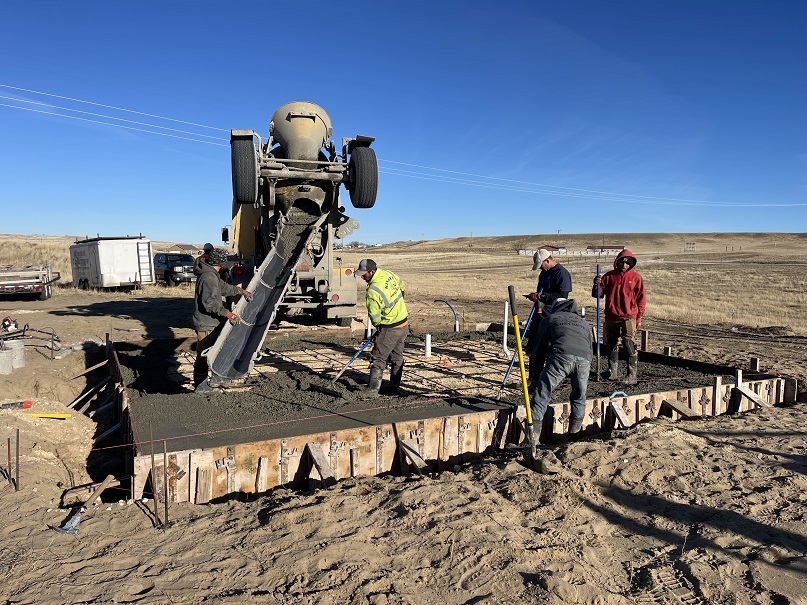
Pouring cement for the slab.More Pouring
They got the slab poured, smoothed out and covered to keep the cement from freezing before it can cure. By next week it should be ready to start construction.
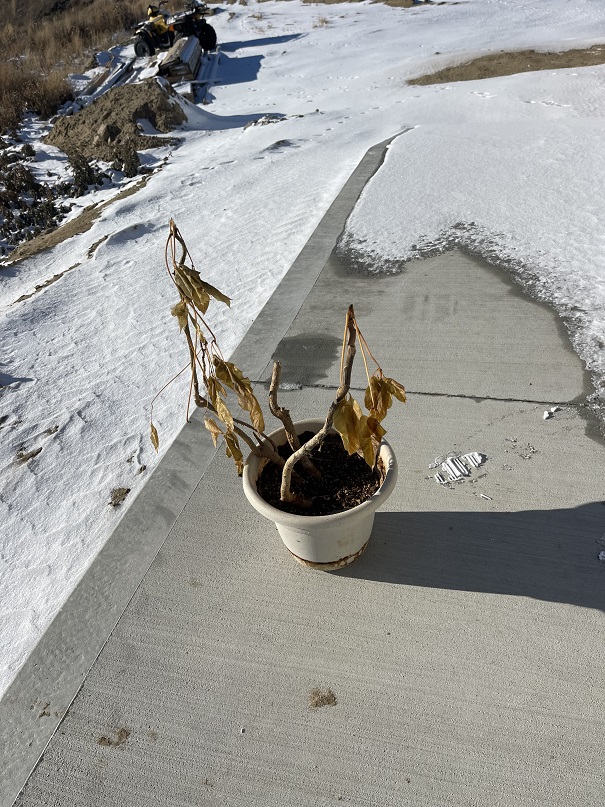
It wasn’t all good news, however. Below is a view of the plant that died. It was a bit of tropical greenery that was included in the flower arrangement that our realtors gave up when we moved into the condo in April 2003. When all the flowers had died, I noticed that the greenery has started roots, so I planted it.
Sic Transit Gloria
It had survived ever since but I let it get chilled in the process of moving into the house and it has finally died. That leaves the senior plant in residence the Christmas Cactus that we budded from the house on Aries Drive in 1977.
This is being typed on November 16th. We still have not closed with Rocket Mortgage after 3 weeks. I got a call-back from my Acct Manager at Rocket, and he explained the issue. So far, I have had 3 separate appraisers show up to walk through, take pictures, etc. The problem is that none of them can find an equivalent house (new construction, 1400 sq foot, metal roof & walls, on well (with reverse osmosis plant) and powered by solar cells) to develop comps with.
Rocket has escalated the issue and has some mid-level managers involved with trying to resolve the issue. I am expecting one or two more appraisers over the next week or so.
Over the past couple of weeks, I have been on half-power from the solar arrays. When I was working on the electrical system to get approval from the County Building Inspectors, I discovered that batteries went into self-protect mode. I did some further troubleshooting and discovered the Inverters DC battery input were shorted together on one of the two inverters. I disconnected the faulty inverter and was able to bring up 120 of the 240 VAC. Fortunately, the side that remained up was the MBR, and most of the Kitchen and Living Room.
I contacted Signature Solar and reported the issue. I forwarded pictures and video of me measuring the shorted inputs. It was immediately escalated to second level response. After a week of nothing heard, I called up and rattled their cage. Last week I received a FedEx shipping label. That same afternoon I packaged up the bad inverter and shipped it off. Later that week I was notified that the replacement would be shipped shortly. Latest info that it should be delivered on Saturday.
The good news is that I have demonstrated that I can go a day, or even two with heavy overcast with only half of solar panels. Once I get the replacement inverter, I can bring the full power back up in the house.
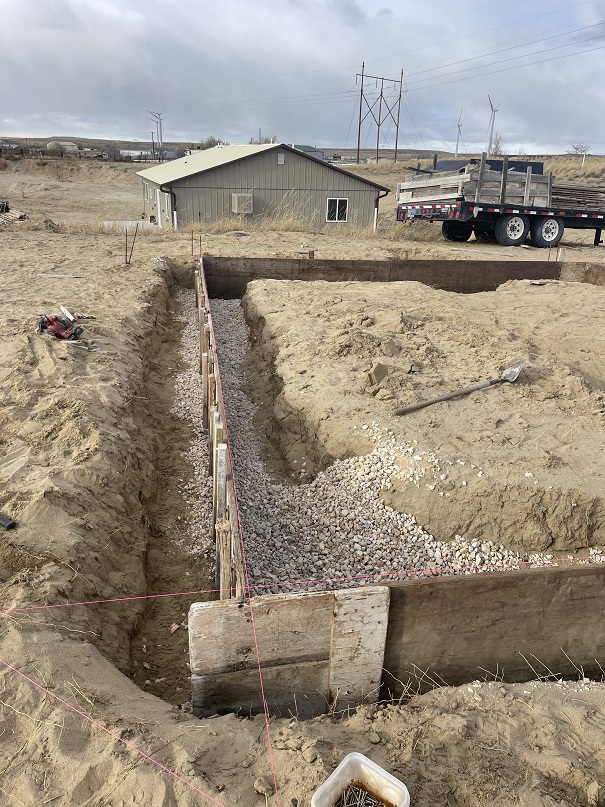
The past week or so Jill’s tiny house has moved forward. The goal is to get the foundation poured before the weather gets too cold, and erect the structure early in the spring.
Jill’s Foundation
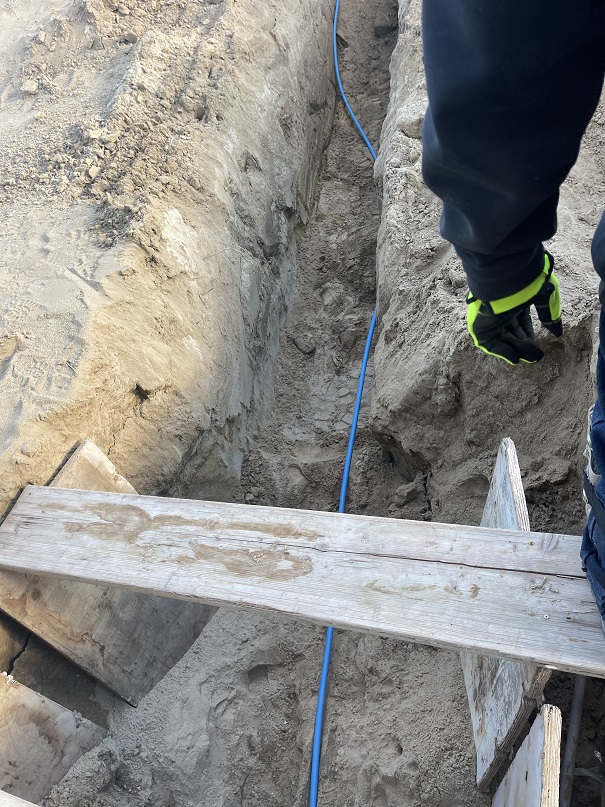
Also, we dug the trench and ran the water line from my crawl space up to the foundation.
Water Line Running Up to Jill’s
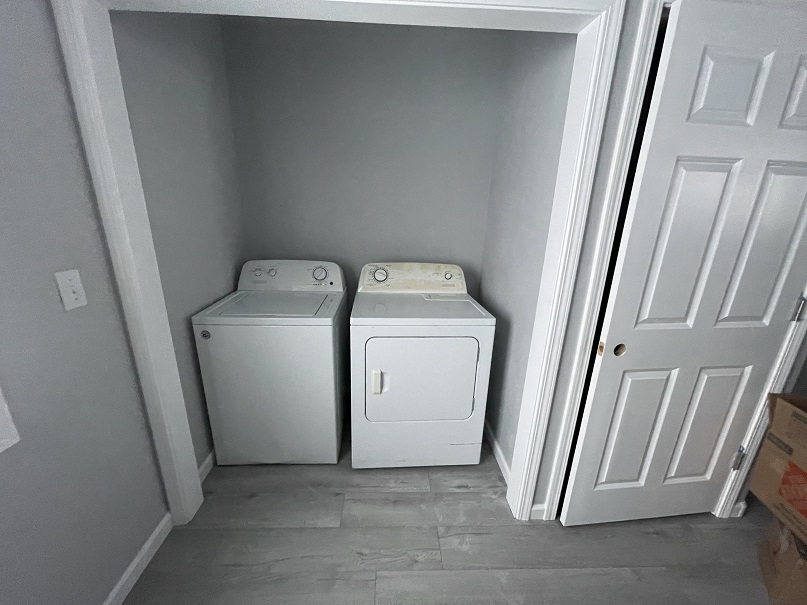
Finally, we got the washer and dryer installed. Note the dryer is electric and needs 240VAC, so it is waiting the new inverter.
Washer and Dryer
In a Catholic school cafeteria, a nun places a note in front of a pile of apples, “Only take one. God is watching.” Further down the line is a pile of cookies. A little boy makes his own note, “Take all you want. God is watching the apples.”
Today is Sunday, October 16,2022. I am woefully behind in updating this blog. Below is a walkthrough of the house. AT is hoping to finish up the house and get an occupancy permit by the end of the week. Also, Kate is coming for a visit this Saturday (10/22/22).
Mostly Done with Siding
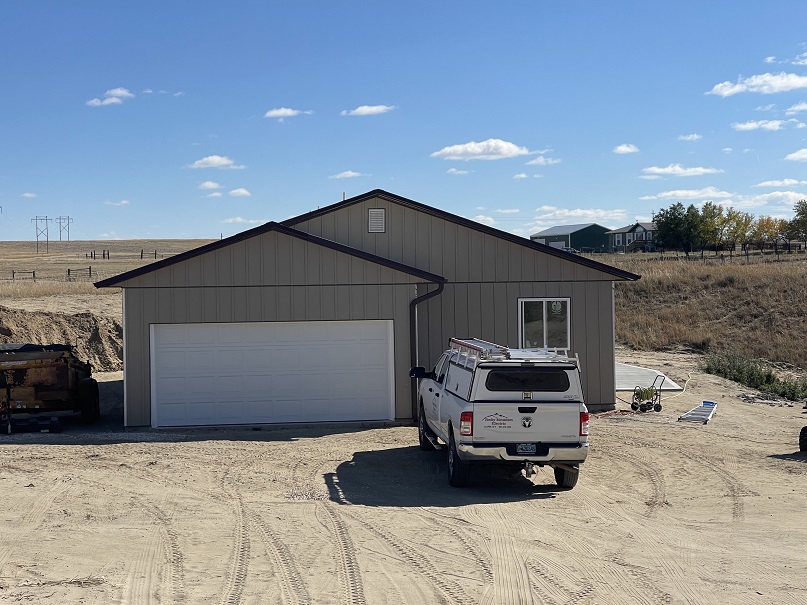
The siding is mostly done, lacking the corner pieces. We still need to pour a 20′ parking apron in front of garage.
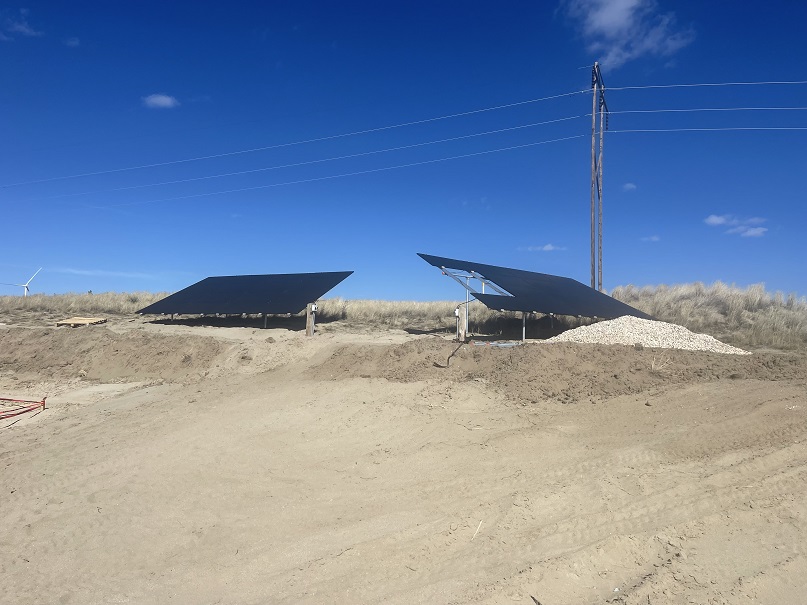
Solar Panels
Off to the left are the solar panels. There are two panels not installed yet. I got 30 with the package I got. The minimum to reorder is 10, due to packaging requirements, so I will add two when we order Jill’s. The wires from the panels run underground to the panels in the garage.
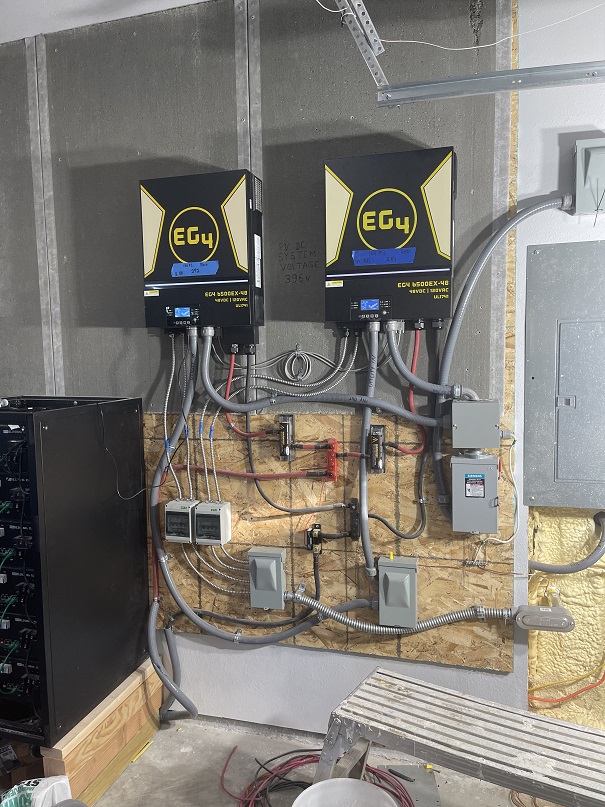
Solar Power Installation
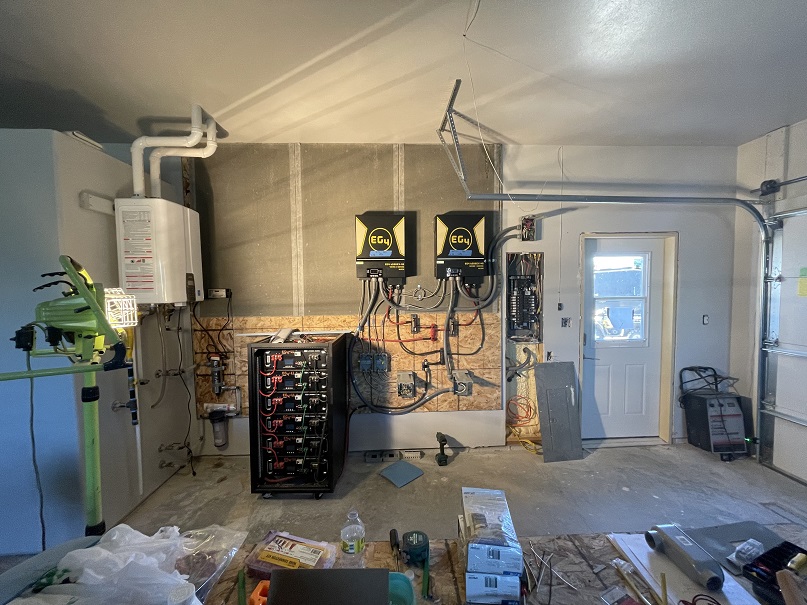
This is the South wall of the garage. The rack mount of 6 batteries is in the center. The two boxes labelled “EG4” are the main inverters that produce 240V to the Main Breaker panel to the right. The large white box to the left is the demand hot water heater. /
Master Bedroom
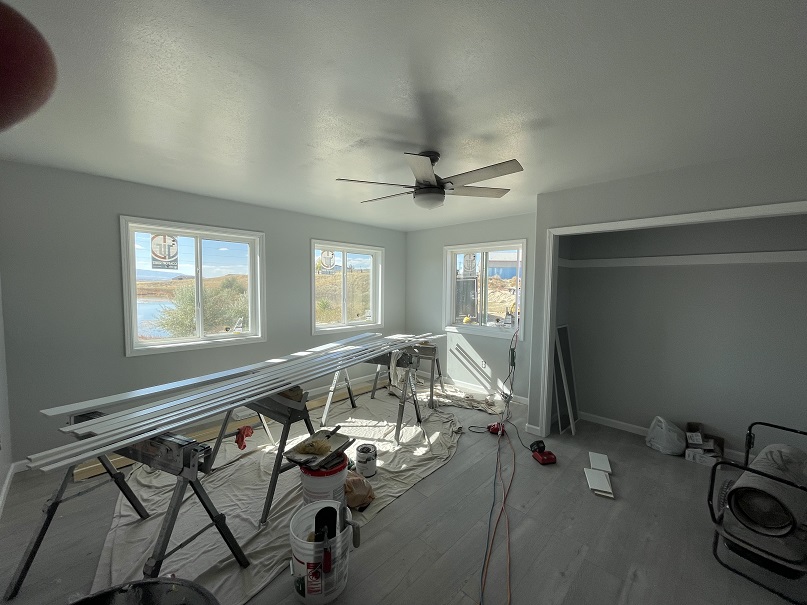
The master bedroom is currently the staging area for trim work. Note the ceiling fan (one in each bedroom) and the trim work.
Living Room
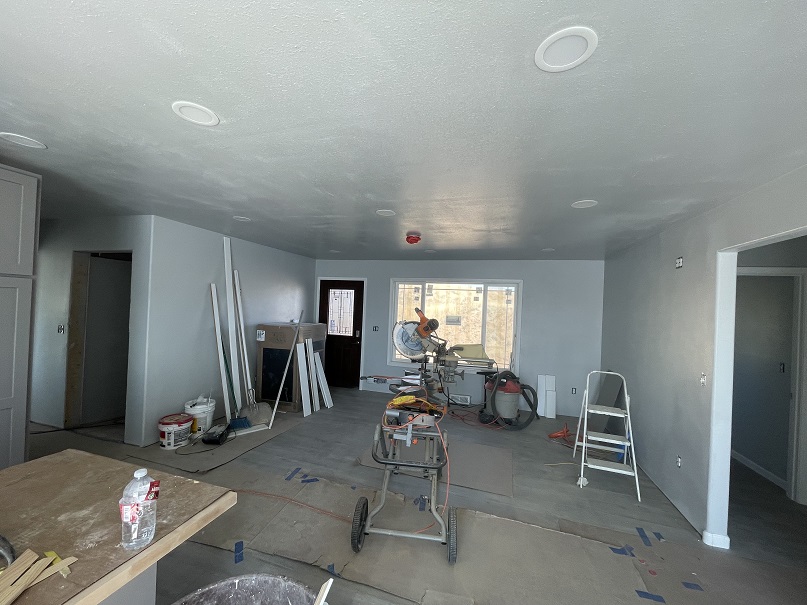
The living room. Note the ceiling lights in the living room and kitchen. The red blotch in the living room is for smoke detector. The butcher block on the kitchen counter is covered by protective cardboard. The cardboard covered black thing by the front door is the range waiting to be installed in the kitchen.
Kitchen
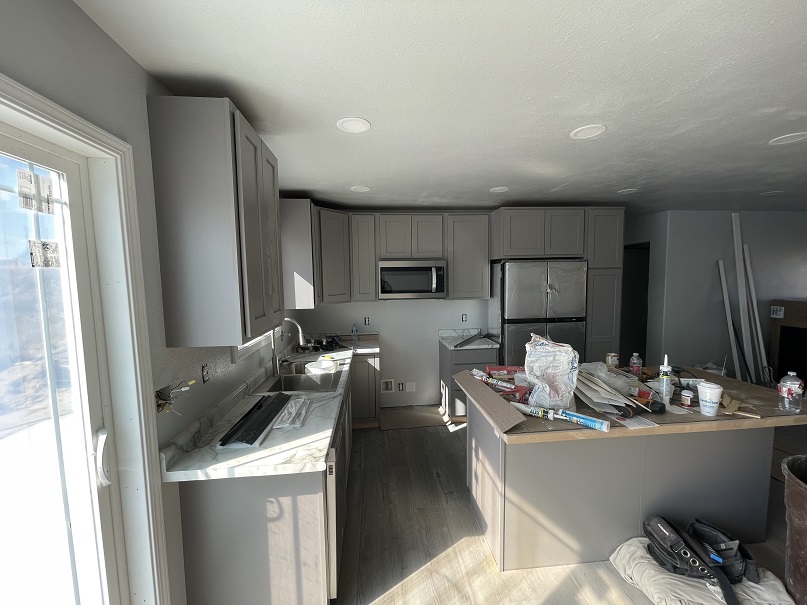
The microwave is installed over where the range will go. The cupboards are in, but still need handles.
Bedroom/Laundry/Office?
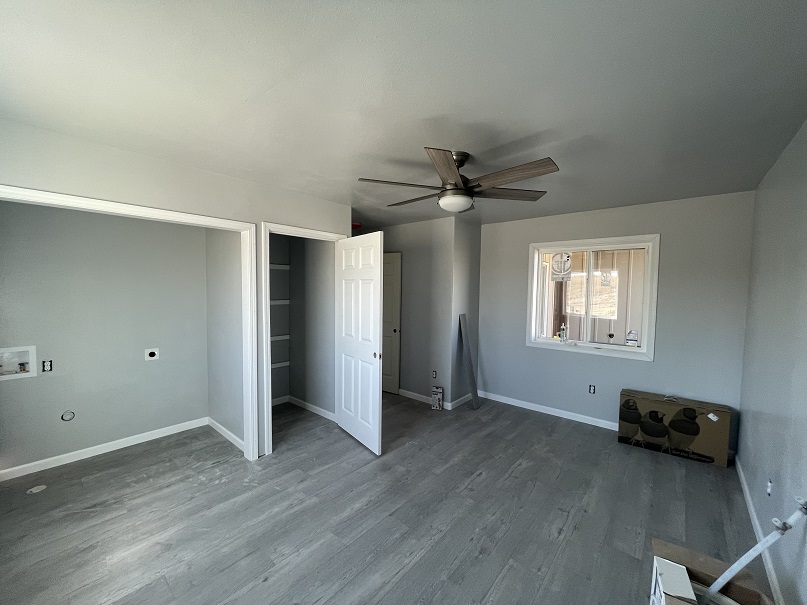
This is the bedroom at the front of the house. The window looks out at the front porch and door. The closet to the right of the laundry area will be the linen closet. The two boxes under the window are monitors for Kate to try out this week.
Second Bath
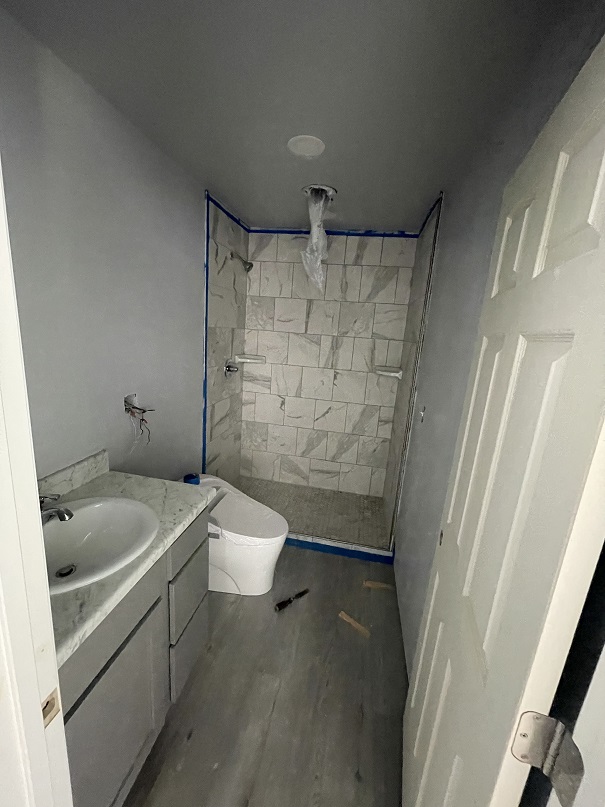
The second bathroom, with the magic toilet. Need to install some sort of glass around the shower.
Master Bath
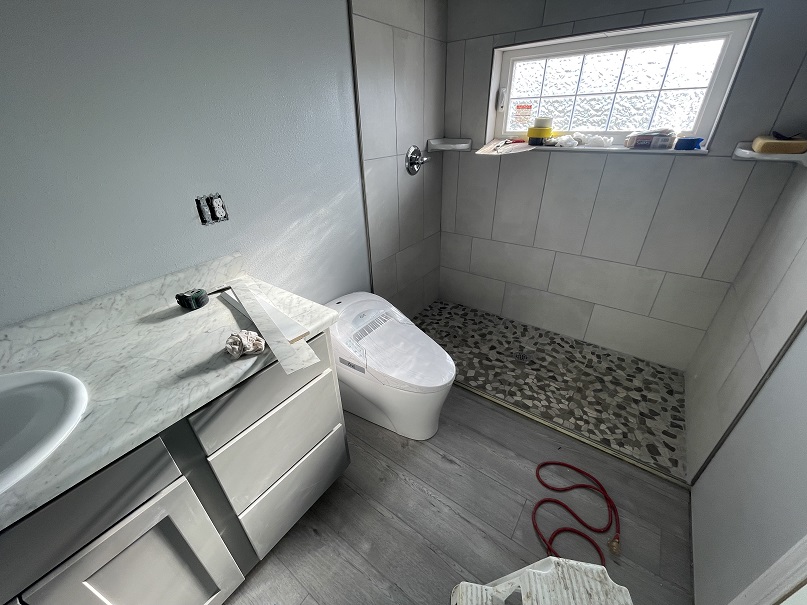
This is the master bath. Note the slightly larger shower with built in window.
Patio
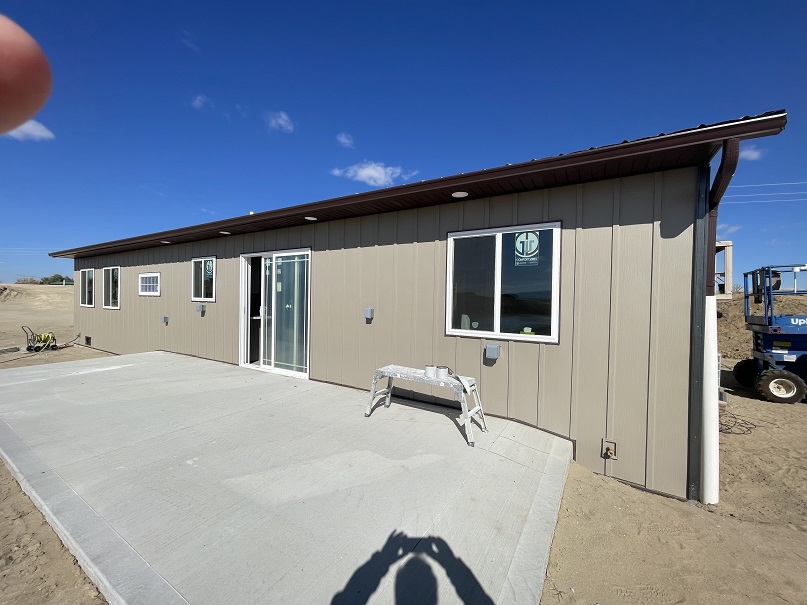
The patio off the dining room. Note the trim work is done on the house, along with the patio lights under the eaves. From L-R we have two MBR windows, Master bath window in the shower, window over the sink, patio doors and finally window in the office/bedroom.
Front of house & Solar Panels
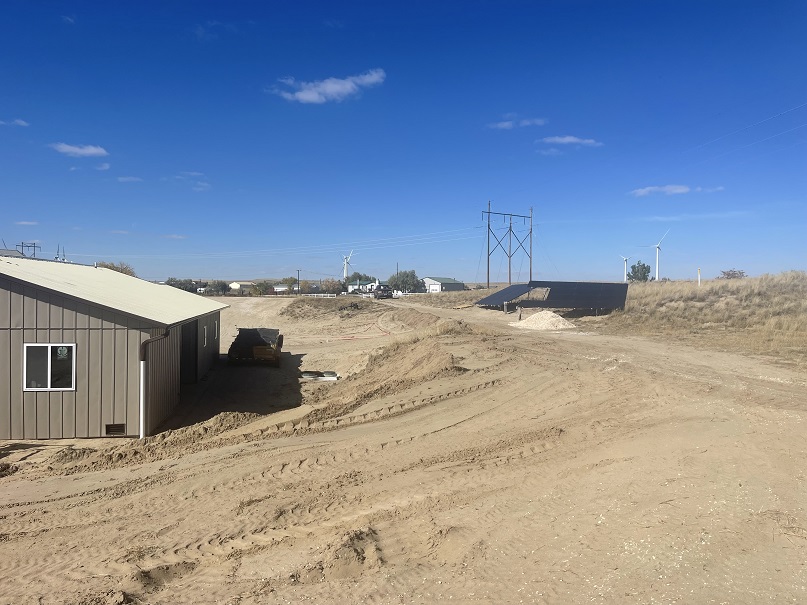
Front of the house, note the large pile of dirt and big bank is knocked down. The solar panels on the left.
Garage
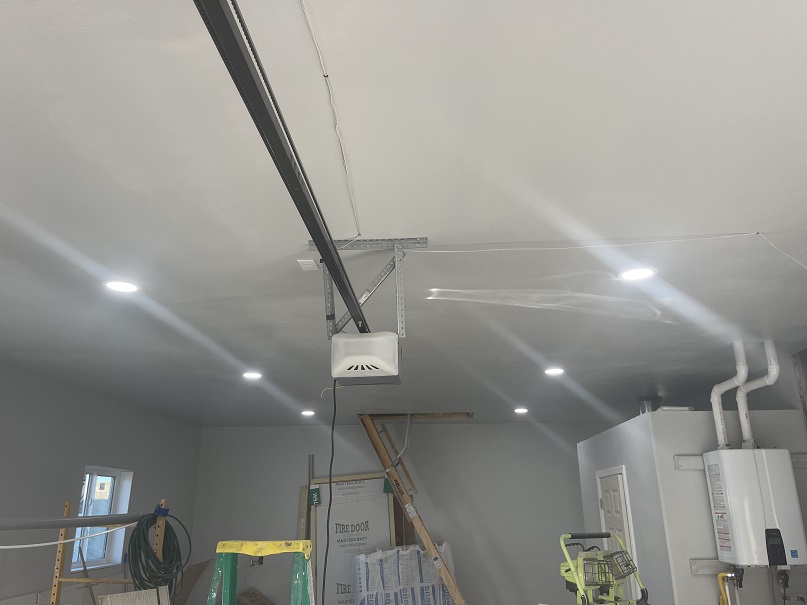
“Let there be Light!” in the garage. Note the attic stairs in the middle, and the garage bathroom and water heater on the right.
That’s the house as of 10/16/2022.
In other news, here’s some looks from back over the three weeks.
Erecting Poles
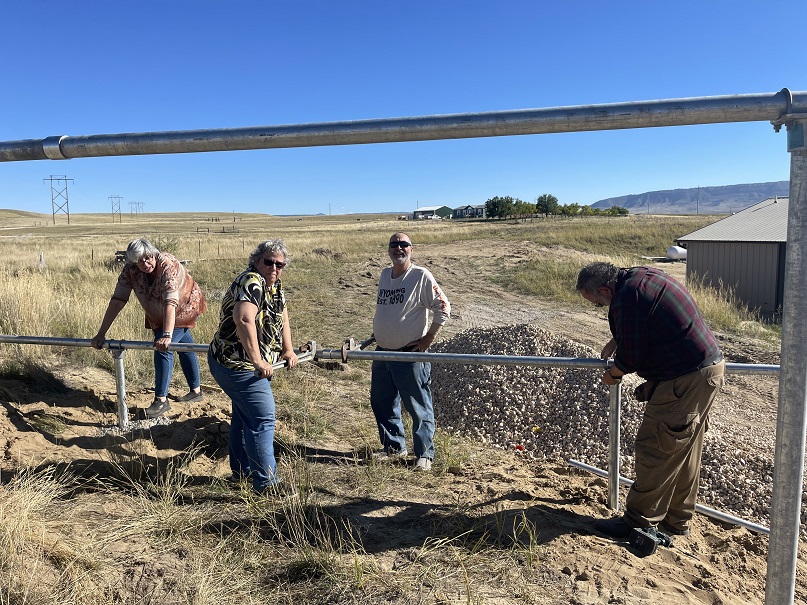
Mike, Jan, Jill, and I erecting the poles for the solar panels. Photo taken by Dawn.
Sisters
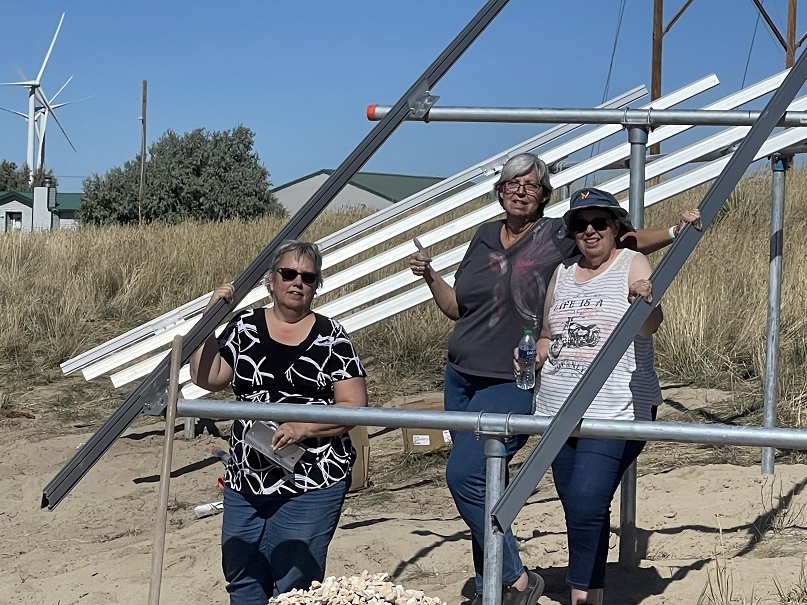
My three sisters, Dawn (Sis), Jill, and Jan after finishing erecting the poles.
Jon
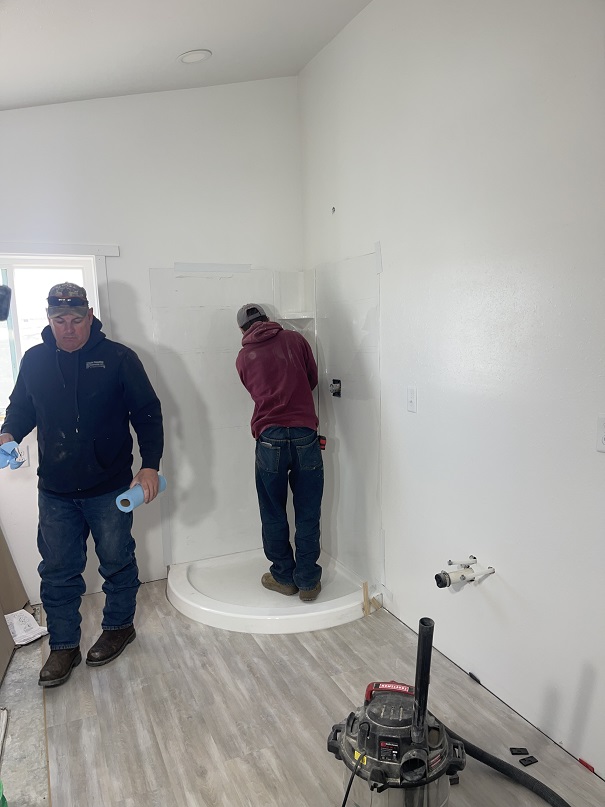
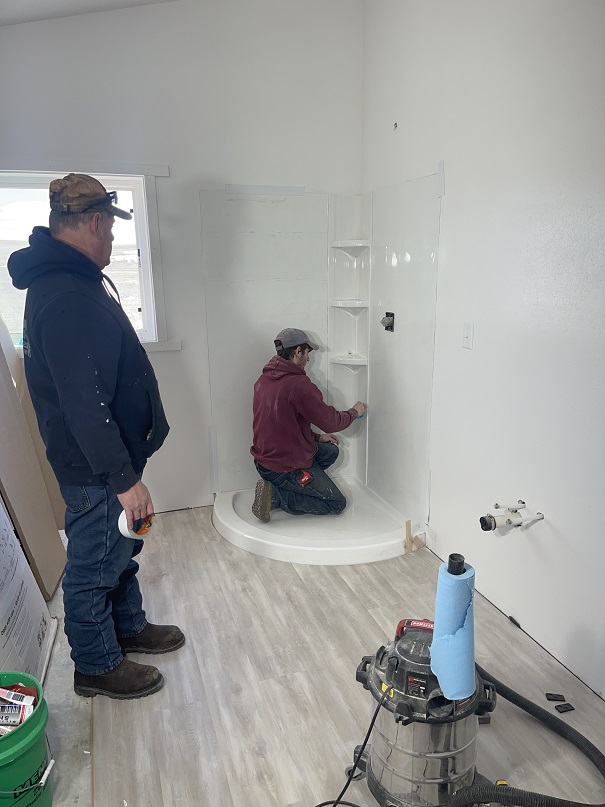
My middle Jon, who spent the last couple of weeks helping out tiling in the showers and helping out immensely with the putting together the solar panels and the power system.
I suddenly realized I am woefully behind on updating you about the progress on the house. You are welcomed by the front yard antelope that greeted me one day last week.
Antelope in the Front Yard
We are making progress on several fronts. First of all we have completed all of the wallboard, completed mud work and wallboard finishing, texturing and painting. For those of keeping score the exact shade of white is “Platinum”, a very light grey.
Painted Office Kitchen with cabinets
Moving on to flooring, we started back in the Master Bedroom.
MBR Flooring
The flooring is mostly light shades of greyish wood. It is Luxury Vinyl Plank with interlocking pieces.
Master Bath
Continuing to the Master Bath, we can also see the greyish shaker-style vanity.
From MBR through hallway w/ coat closet
The flooring runs from the Master Bedroom down the hallway and into the Living Room/Kitchen area.
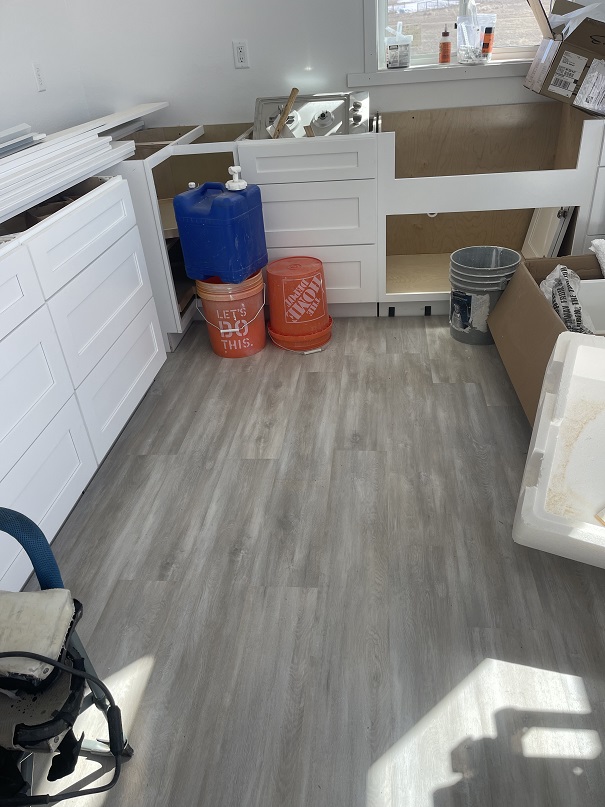
Setting Kitchen Cabinets
In addition to the flooring, we have started putting up the kitchen cabinets starting with the corner pieces. The general theme for the kitchen cabinets (as well as bathroom cabinets) is a simple grey Shaker style. In other news this week, we have installed the garage door.
Garage door and side door into Garage.
Since my last update we have also installed the side door into the garage. The siding installation has encountered a minor problem in that they ran short of “J-channel” pieces. They should get it finished up next week or so. Also note the patio off to the right
Starting to set poles for the Solar Power Panels.
Also, during a brief rain shower this afternoon the cement truck arrived to put in the poles to support the solar panels.
Mostly Done, about 5 hours later.
You can see 7 of the 8 poles standing proudly erect. We ran a little short while emptying out the cement truck (we ordered 2 cubic yards of cement. Over the next week we will rent a mixer and buy some bags of cement and fill that last hole.